The era of spending eight hours chopping a single podcast into a dozen mediocre YouTube Shorts is over. In 2026, the standard content creator workflow relies on an aggressive, highly optimized pipeline that turns raw, unedited footage into scheduled, highly engaging micro-content in minutes. If you are still manually hunting for timestamps, typing out captions, keyframing zoom-ins, and uploading videos one by one to TikTok, Instagram Reels, and YouTube Shorts, you are losing to creators who have automated their entire production cycle.
To scale your brand today, you need a systematized approach. Outputting 30 to 50 high-quality short-form videos a week is no longer a luxury reserved for massive media teams; it is the baseline requirement for algorithmic relevance. Hitting these numbers requires stripping away friction, eliminating software bloat, and leveraging unified AI systems that handle everything from clip curation to community engagement.
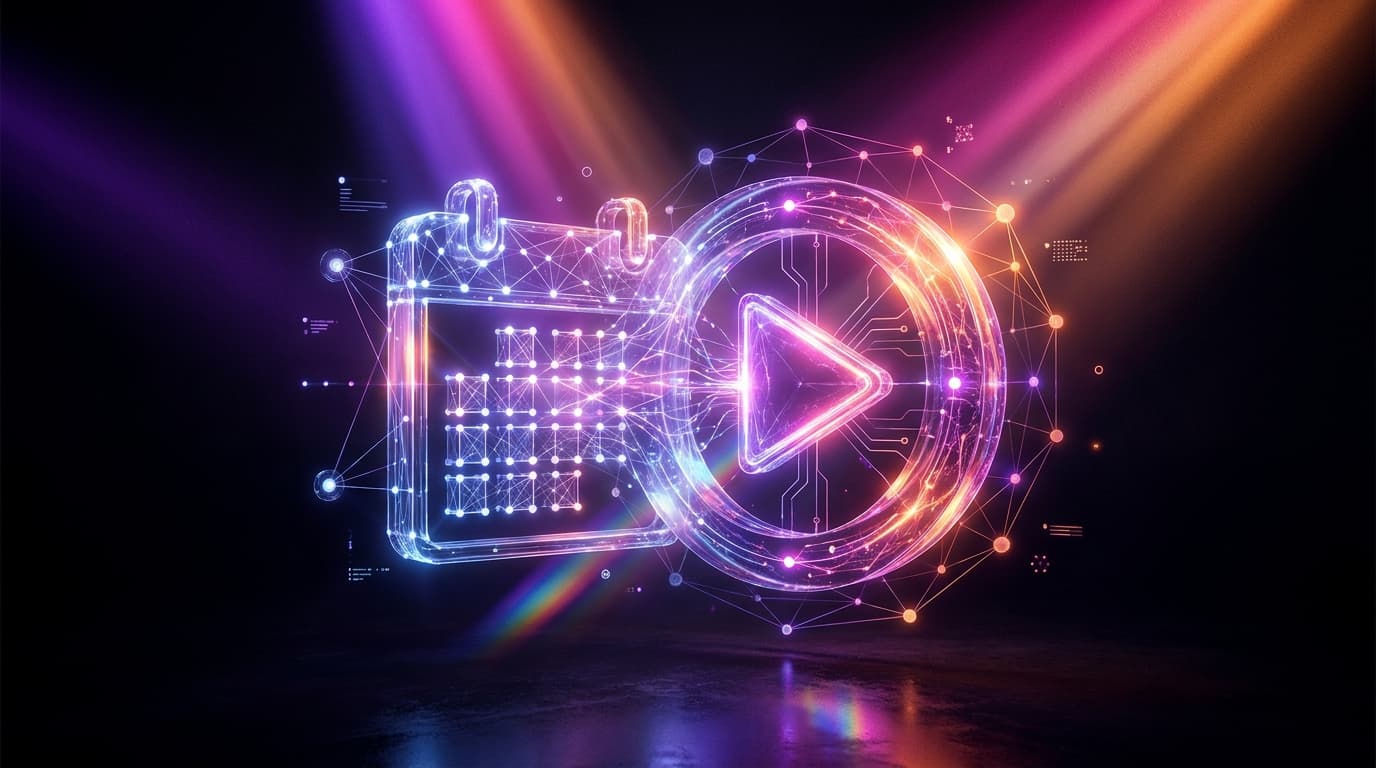
Here is the complete, step-by-step blueprint for a modern content creator workflow that takes you from raw footage to a fully scheduled content calendar without breaking a sweat.
The Evolution of the Content Creator Workflow
Just a few years ago, the process of repurposing long-form content was a grueling, multi-step marathon. A typical creator would record a two-hour stream, download the massive 50GB file, and drag it into Premiere Pro or DaVinci Resolve. They would manually scrub through the timeline, isolate 60-second chunks, and export them. Then, they would port those clips into Descript or CapCut for captions, export again, and finally move the files to a scheduling tool like Buffer or Later.
This fragmented "Frankenstein" stack was expensive, slow, and prone to file-compression degradation. Every time you rendered and moved a file, you lost time and video quality.
In 2026, the optimal content creator workflow is entirely cloud-based and consolidated. The goal is zero local rendering and zero manual file transfers. You feed a URL or a raw file into an intelligent engine, and the engine handles the extraction, styling, and distribution in one seamless interface.
Step 1: Ingestion and Raw Footage Processing
The first phase of the modern pipeline is getting your raw assets into the editing environment instantly. Whether you are recording solo talking-head videos, remote interviews via Riverside, or hours of Twitch streams, your ingestion process needs to be frictionless.
Cloud-Direct Imports
Instead of downloading large 4K files to your local hard drive, modern workflows utilize direct URL imports. You simply paste a YouTube link, Google Drive URL, or Zoom cloud recording link directly into your AI clipping tool.
Technical Baselines for Raw Capture
To ensure the AI has the best possible data to work with, your raw capture must meet specific standards:
- Resolution: Record in 4K if possible, but no less than 1080p. AI face-tracking algorithms require crisp edge detection to keep you centered in a 9:16 vertical crop.
- Framerate: 60fps is ideal for smooth, engaging short-form content, though 30fps remains acceptable for standard podcasts.
- Audio Quality: Audio is the primary driver of AI transcription accuracy. Use a dedicated dynamic microphone (like a Shure SM7B or Rode PodMic) and ensure your audio is recorded on a separate track from your system audio.
Step 2: AI-Powered Curation and Clipping
Identifying the most engaging 30 to 60 seconds within a two-hour video used to require a dedicated human producer. Today, it requires a few seconds of machine learning analysis.
Tools like Opus Clip, Vizard, Klap, and Munch popularized this step by scanning transcripts for keywords and loud audio spikes. However, the 2026 standard demands a much deeper level of analysis. A truly optimized content creator workflow doesn't just look for loud noises; it evaluates the psychology of the clip.
For instance, modern workflows leverage platforms like Viral Day, which evaluates raw footage against 18 distinct viral parameters. Instead of just guessing what might work, the AI scores clips based on:
- Hook Probability: Does the first 1.5 seconds contain a strong statement, a question, or a visual shift?
- Retention Mechanics: Is the pacing (words per minute) fast enough to prevent viewers from scrolling?
- Emotional Resonance: Does the speaker's tone indicate excitement, anger, or urgency?
- Trend Alignment: Do the topics discussed map to currently trending keywords on TikTok and YouTube?
By utilizing an engine that understands these 18 parameters, you eliminate the guesswork. The AI serves up a dashboard of perfectly cut clips, ranked by their likelihood to go viral. Combined with AI face tracking that automatically pans and zooms to keep the speaker dead center, you completely bypass the need to manually keyframe subjects.
Step 3: Dynamic Styling, Captions, and Brand Kits
Once the clips are curated, they must be styled to hold attention. Raw video with no visual overlays will die in the algorithm. Text, emojis, b-roll, and sound effects are mandatory.
While creators previously relied on Submagic or CapCut templates for this, jumping to a secondary app breaks the workflow. The modern approach applies these styles natively within the clipping tool.
Building Your Brand Kit
Consistency builds recognizable organic reach. Your audience should know it's your video before they even look at the username. To achieve this, configure a master Brand Kit in your AI editor:
- Typography: Select a bold, highly legible sans-serif font (e.g., Montserrat, TheBoldFont, or Proxima Nova). Set the size to occupy no more than 15% of the screen height.
- Color Palette: Choose a primary brand color for highlighted words (e.g., Neon Yellow #FFFF00 or Bright Green #00FF00) and stick to stark white for standard text.
- Placement and Safe Zones: Keep all captions centered in the lower third of the screen. Ensure they sit above the TikTok description UI and away from the right-side engagement buttons.
- Animation: Utilize dynamic pop-in animations for active words, but keep the animation duration under 0.2 seconds to maintain a snappy, fast-paced feel.
The 1080p Export Imperative
Many legacy AI tools quietly compress your final video to 720p to save server costs, which severely damages your reach. Algorithms actively suppress pixelated content. Ensure your workflow guarantees a crisp 1080p export at 60fps.
Step 4: Scheduling and Distribution (The Bottleneck Solved)
The most significant friction point in a traditional content creator workflow is distribution. Let's say your AI tool generates 15 amazing clips. If you have to download those 15 clips to your phone, open TikTok, upload, write a description, add hashtags, post, and then repeat that process for Instagram Reels and YouTube Shorts, you are wasting hours of manual labor.
Traditional social media schedulers like Hootsuite or Metricool are effective, but they require you to migrate massive video files from your editor to your desktop, and then upload them again to the scheduler.
The most efficient route is utilizing an end-to-end system. Viral Day allows you to edit, render in 1080p, and automatically schedule posts directly to TikTok, Instagram Reels, and YouTube Shorts from the exact same dashboard where the clip was generated. This consolidation removes the file-transfer bottleneck entirely. You can map out a month of content across three platforms in about twenty minutes, ensuring your metadata, hashtags, and descriptions are optimized per platform prior to publishing.
Tool Comparison: Piecing Together vs. All-in-One
To illustrate the financial and operational difference, let's compare a fragmented 2024-style software stack with a unified 2026 workflow.
| Feature/Requirement | Fragmented Stack (Opus + Submagic + Later + ManyChat) | Unified Stack (Viral Day) |
|---|---|---|
| AI Clipping & Curation | Yes (Opus Clip) | Yes (18 Viral Parameters) |
| Dynamic Captions & Styling | Yes (Submagic) | Yes (Built-in Brand Kit) |
| Auto-Posting to Socials | Yes (Later - Requires manual upload) | Yes (Direct from editor) |
| AI Auto-Replies & DMs | Yes (ManyChat) | Yes (Built-in) |
| Face Tracking & 1080p | Varies by tool limits | Yes (Native 1080p) |
| Estimated Monthly Cost | ~$90 - $120/month | ~$15/month (roughly 4x cheaper) |
By migrating from a pieced-together stack to a unified platform, you not only save substantial capital every month, but you also reclaim hours of administrative time previously lost to downloading, uploading, and managing multiple subscriptions.
Step 5: Community Engagement and AI Auto-Replies
A complete content creator workflow does not end the moment the video goes live. In 2026, publishing is only half the battle; engagement is what drives algorithmic velocity.
When a video spikes in views, it generates hundreds of comments. The algorithms on Instagram and TikTok heavily reward creators who actively engage with their comment sections within the first hour of publishing. Furthermore, comment-to-DM funnels (e.g., "Comment 'WORKFLOW' to get my free guide") are the highest-converting method for turning short-form viewers into email subscribers or paying customers.
In the past, setting up this automation required complex third-party integrations via tools like ManyChat. Today, your workflow should handle this natively.
Setting Up Engagement Automation
- Define the Trigger: Set a specific keyword for your video's call-to-action (e.g., "Send me the word GEAR").
- Automate the Reply: Configure your AI to instantly reply to the public comment, acknowledging the user and signaling active engagement to the algorithm (e.g., "Just sent it to your hidden requests!").
- Deploy the DM: The system automatically fires a direct message to the user containing the link to your product, affiliate offer, or lead magnet.
By integrating AI auto-replies and DMs directly into your video management dashboard, you create a closed-loop system. The AI cuts the video, posts the video, and then automatically monetizes the traffic generated by the video.
Conclusion
The creators who will dominate the next few years are not necessarily the ones working the hardest; they are the ones with the most ruthless, streamlined content creator workflow. By eliminating manual editing, stopping the endless cycle of downloading and uploading, and unifying your systems, you can multiply your output without sacrificing your time or sanity.
Stop paying for five different software subscriptions just to get one video live. It is time to consolidate your production, auto-post your clips natively, and engage your audience automatically. Try Viral Day for free today and experience the ultimate, all-in-one AI content engine built for the modern creator.